The Dutch Heel
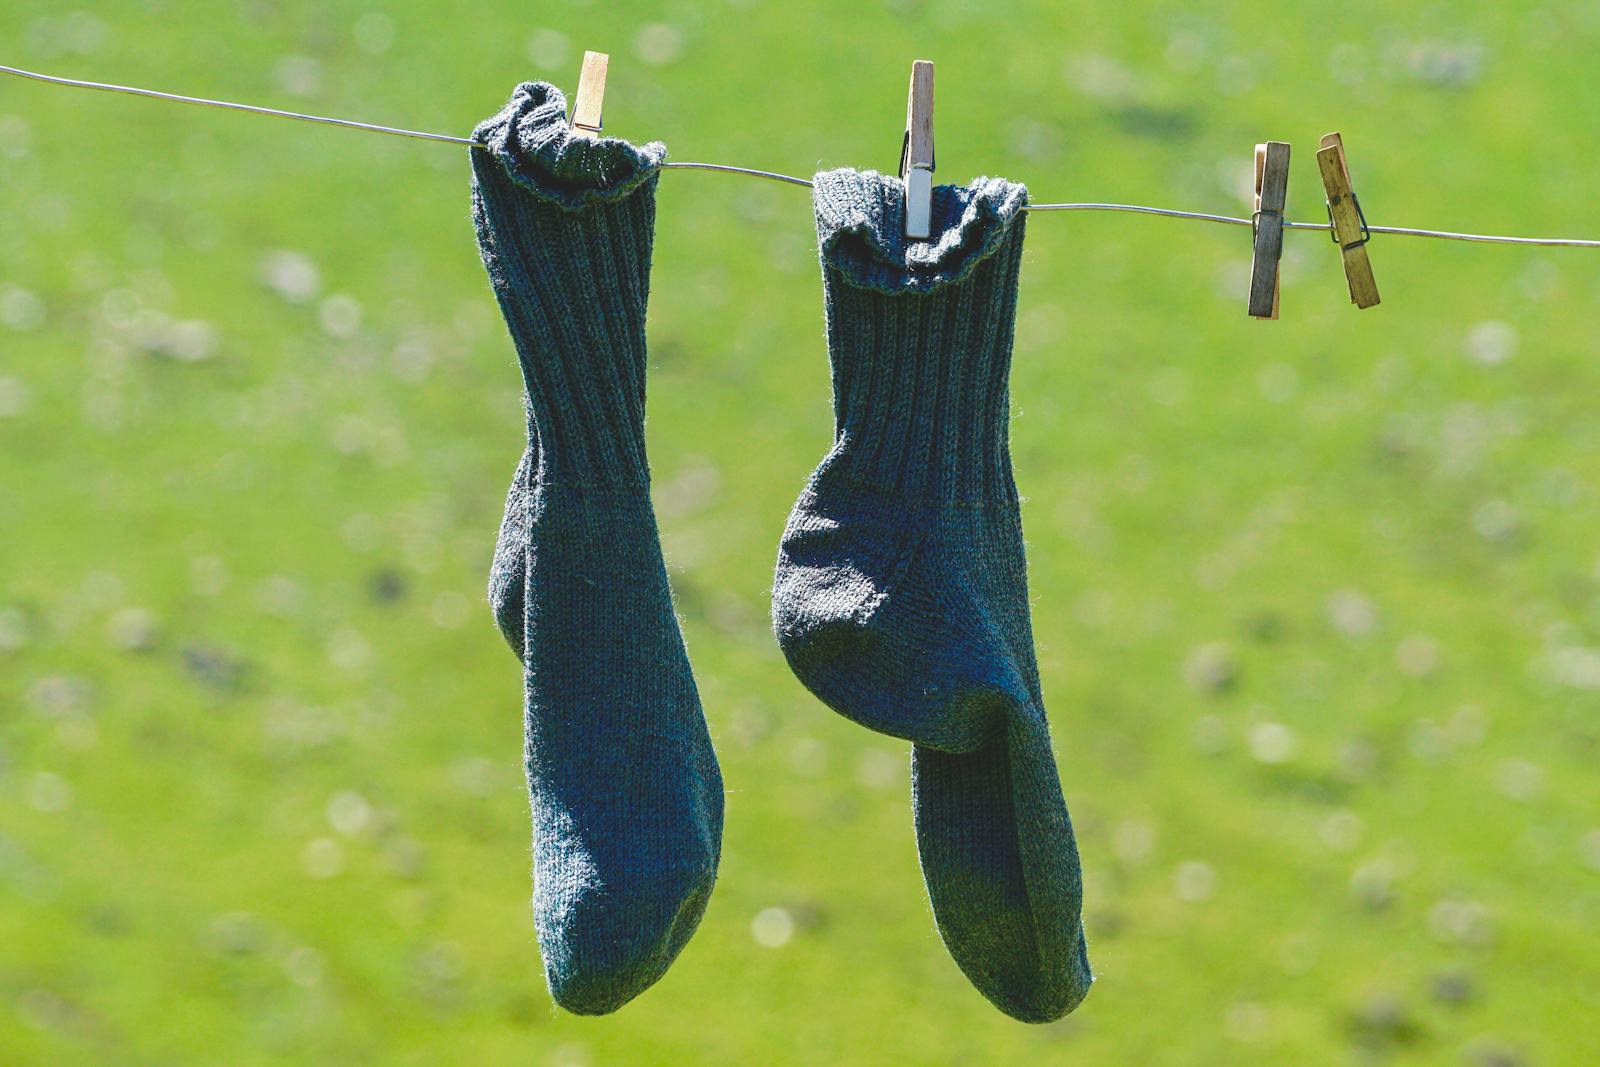
Most knitters knit their own socks because they can, but also because it is possible to use specific techniques to improve fit. Those searching for socks that hug the back of the ankle without extra fabric will appreciate the Dutch heel. Similar to the common French heel, this technique uses a wider center section to lower the length of the gusset. Understanding the way this heel is shaped will make pattern reading more accessible; it will also allow one to add this technique to socks knit on the fly.
After knitting the sock leg in the round, one divides the stitches in half and begins to work back and forth on the heel flap. Usually, one uses a basic slip stitch pattern to add extra cushioning on an area that generally gets wear. Slipping the first stitch of each row makes it easy to pick up for the gusset later on. The pattern will say something similar to this:
Row 1: slip 1 with yarn in back, k1, repeat to end.
Row 2: slip 1 with yarn in front, purl to end.
In general, the heel flap will have the same number of rows as stitches. In other words, an eighteen stitch heel flap will run to eighteen rows. This will give half of that in chain selvedge stitches at each side. To start the heel turn, change to stockinette stitch. Divide the number of stitches by three to find the center stitches; use stitch markers on either side if desired. If the number does not divide evenly by three, add a remainder of one stitch to the center; if there is a remainder of two, add one to each side.
From here, knit across the end and center stitches. Knit the last center stitch together with the first side stitch, and turn the work. Purl back across the center stitches and then purl the last center stitch with the first side stitch. Turn the work, and repeat the process until all of the side stitches are used up. Note that the number of center stitches remains the same; this is what gives the Dutch heel a characteristic flap that pulls underneath the foot.
From here, place a stitch marker in the middle of the heel stitches as you knit across the flap. Pick up and knit each chain selvedge stitch on the side, and then knit across the front of the sock. Pick up and knit each chain selvedge stitch on the other side, and then knit down to the middle. If using double pointed needles, position the stitches so that half the back is on one needle, the other half on the second, and the front of the sock on the third. If using two circulars, place the back stitches on one circular and the front stitches on another.
At this point, the Dutch heel is complete and it is time to create the gusset. To do this, knit an even round. On the next round, knit two together at the right side before knitting across the front. Then use the ssk or the slip 1, knit 1, pass slipped stitch over maneuver to decrease two stitches from the sides of the back. Pattern instructions will look something like this:
Row 1: knit to last three stitches on needle, k2together, k1. Knit across front of sock. Knit 1, sl-k-psso, knit to end of row.
Row 2: knit even.
When the front and back of the sock once again have the same number of stitches, the gusset is finished, and it is time to work the leg.
You Should Also Read:
The Parts of a Sock
A Few Good Reasons to Knit Socks

Related Articles
Editor's Picks Articles
Top Ten Articles
Previous Features
Site Map
Content copyright © 2023 by Korie Beth Brown, Ph.D.. All rights reserved.
This content was written by Korie Beth Brown, Ph.D.. If you wish to use this content in any manner, you need written permission. Contact Korie Beth Brown, Ph.D. for details.


