
Adobe Portfolio - Main Gallery Page Covers
In the last tutorial, we added two pages to our gallery and worked on the setting options for styling the contents on the pages. Now, let's go back to the main gallery page and add page covers for our new pages.
We have already renamed the gallery to Portfolio. Open the Portfolio gallery page in the Adobe Portfolio Editor by clicking its link in the top navigation.
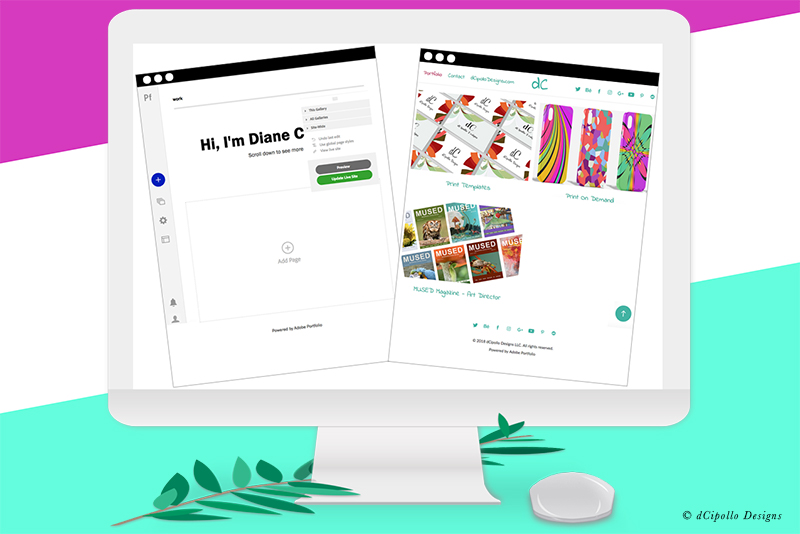
At this point (see screenshot), we have the navigational menu at the top and the footer at the bottom, which have been styled. Also notice that the caption under each empty page cover space is already styled from a previous tutorial. But, we have those empty spaces for the page covers for our pages. Let's add our first page cover.
Place your mouse over the empty space for the page cover on the left and click on the blue pencil icon, to open the menu (see screenshot). You will see the edit menu for this object. Every object on the page, including images, text boxes or content forms, has an attached menu. The options in these menus are determined by the object on the page.
For this page cover, we have four choices. We have already set the options for Customize Page Covers and Edit Page Info in previous tutorials. The Edit Page Content link will open the page associated with this page cover. You can use this link, instead of the top navigation, to move to the page.
In the next tutorial, we will add content to a project page. As you can see, the only thing on the page at this point is the page title and short description (see screenshot).
https://www.myportfolio.com/
https://www.myportfolio.com/editor/portfolio
https://www.myportfolio.com/switch-theme
Copyright 2018 Adobe Systems Incorporated. All rights reserved. Adobe product screen shot(s) reprinted with permission from Adobe Systems Incorporated. Adobe, Photoshop, Photoshop Album, Photoshop Elements, Illustrator, InDesign, GoLive, Acrobat, Cue, Premiere Pro, Premiere Elements, Bridge, After Effects, InCopy, Dreamweaver, Flash, ActionScript, Fireworks, Contribute, Captivate, Flash Catalyst and Flash Paper is/are either [a] registered trademark[s] or a trademark[s] of Adobe Systems Incorporated in the United States and/or other countries.
We have already renamed the gallery to Portfolio. Open the Portfolio gallery page in the Adobe Portfolio Editor by clicking its link in the top navigation.
At this point (see screenshot), we have the navigational menu at the top and the footer at the bottom, which have been styled. Also notice that the caption under each empty page cover space is already styled from a previous tutorial. But, we have those empty spaces for the page covers for our pages. Let's add our first page cover.
Place your mouse over the empty space for the page cover on the left and click on the blue pencil icon, to open the menu (see screenshot). You will see the edit menu for this object. Every object on the page, including images, text boxes or content forms, has an attached menu. The options in these menus are determined by the object on the page.
For this page cover, we have four choices. We have already set the options for Customize Page Covers and Edit Page Info in previous tutorials. The Edit Page Content link will open the page associated with this page cover. You can use this link, instead of the top navigation, to move to the page.
- To upload a page cover, click Edit Cover Image in the menu.
We have two tabs, indicating that we can upload two images (see screenshot). The Regular image will be the default page cover that displays on the main gallery page and the Rollover image will display when the viewer places the mouse over the Regular image. If you do not upload a Rollover image, the Regular image will display instead.
Use the Scale slider under the image to scale the page cover as needed and click Done to upload the image (see screenshot). If you need to change this page cover, first you need to click on Remove Image and then click on the upload screen to upload a new image.
If your page cover seems to be distorted or stretched, you need to check the Aspect Ratio setting (see screenshot). Just go to the Floating Remote and click All Galleries - Page Covers - Aspect Ratio Options. Remember that this is a Site-Wide setting. - Repeat the previous step to upload page covers for all of your gallery pages.
In the next tutorial, we will add content to a project page. As you can see, the only thing on the page at this point is the page title and short description (see screenshot).
https://www.myportfolio.com/
https://www.myportfolio.com/editor/portfolio
https://www.myportfolio.com/switch-theme
Copyright 2018 Adobe Systems Incorporated. All rights reserved. Adobe product screen shot(s) reprinted with permission from Adobe Systems Incorporated. Adobe, Photoshop, Photoshop Album, Photoshop Elements, Illustrator, InDesign, GoLive, Acrobat, Cue, Premiere Pro, Premiere Elements, Bridge, After Effects, InCopy, Dreamweaver, Flash, ActionScript, Fireworks, Contribute, Captivate, Flash Catalyst and Flash Paper is/are either [a] registered trademark[s] or a trademark[s] of Adobe Systems Incorporated in the United States and/or other countries.

Related Articles
Editor's Picks Articles
Top Ten Articles
Previous Features
Site Map
Content copyright © 2023 by Diane Cipollo. All rights reserved.
This content was written by Diane Cipollo. If you wish to use this content in any manner, you need written permission. Contact Diane Cipollo for details.


